My friend sells phone cases on Daraz. He takes photos at home on his bed because he doesn’t have a studio setup. The cases look fine but the background is always his wrinkled bedsheet, sometimes a pillow, sometimes his cat walked into the frame. Not exactly professional.
He was paying some guy on Fiverr 500 rupees per photo to remove backgrounds and put a white background instead. He sells like 20-30 cases a month and needs photos for each one. You do the math — that’s a lot of money going to background removal.
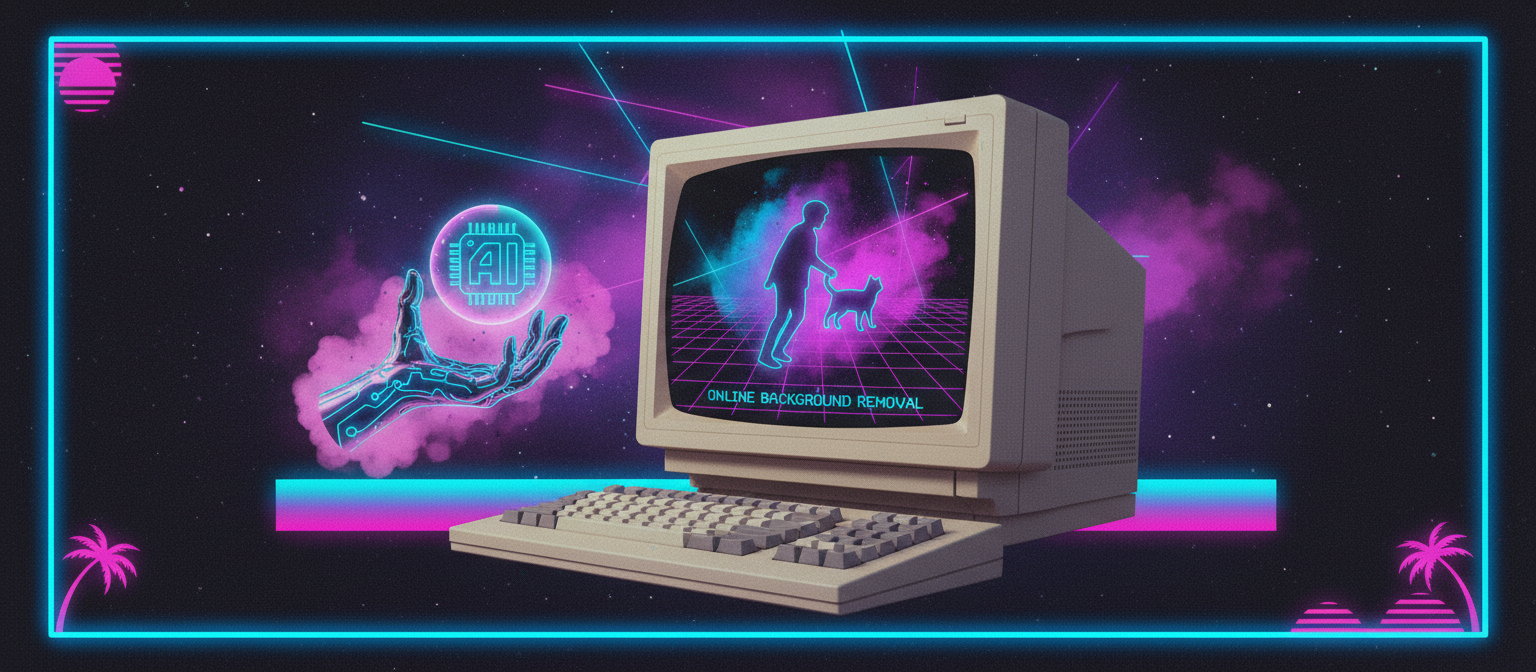
I showed him the background remover tool and he literally said “you’re telling me this is free?” Yes bro. It’s free.
How it works
Go to convertkr.com/background-remover. Drop your photo in. Wait like 3-5 seconds. Done.
The AI figures out what’s the main subject — a person, a product, whatever — and removes everything else. You get a PNG with a transparent background. From there you can put it on white, on a colored background, on anything.
No signup. No “you get 3 free removals per month.” It just works.
I’ll be honest though — the first time the photo loads it takes a few seconds because the AI model needs to download to your browser. It’s about 40MB. After that first load it’s cached and runs fast. Small price for not paying Fiverr.
How good is it actually
For product photos — really good. Clean edges, picks up the object accurately. My friend’s phone cases come out looking like they were shot in a studio. White background, no shadows, no bedsheet.
For people — also pretty good. It handles hair surprisingly well which is usually the hardest part. Not perfect on every single strand but way better than I expected from a free browser tool.
Where it struggles: if the subject is a similar color to the background. Like a white mug on a white table. The AI gets confused sometimes and eats part of the mug. In those cases I just retake the photo on a different surface. Easier than trying to fix it.
Also complex stuff like trees, fences, bicycle spokes — anything with lots of small gaps — the results can be messy. But for 90% of what normal people need, it works great.
What people use this for
Selling stuff online. My friend with the phone cases is just one example. Anyone selling on Daraz, OLX, Facebook Marketplace — your product photos look 10x better with a clean background. Nobody wants to see your kitchen table and last night’s dinner plate behind the thing you’re selling.
Profile pictures. My cousin wanted a professional looking profile photo for LinkedIn but didn’t want to pay for a photoshoot. He had a decent photo of himself but the background was a messy room. Removed the background, put a plain gray gradient behind him, and it looked like a proper headshot. Got the job btw.
Presentations and assignments. When you’re making a slide deck and need a photo of a product or person without the background — this is way faster than Googling for a PNG version that probably doesn’t exist.
Making stickers. This sounds random but a few friends have used it to make WhatsApp stickers of their faces. Remove background, crop tight, save as PNG, import into a sticker maker app. Took them 2 minutes.
Logo cleanup. Someone gave me their logo as a JPG with a white background. I needed it on a dark website header. White box around the logo looked terrible. Ran it through the background remover, got a clean PNG with transparency, problem solved in 5 seconds.
Why not Photoshop or remove.bg
Photoshop — I mean if you have it and you know how to use the pen tool and layer masks, go for it. You’ll get perfect results. But 99% of people don’t have Photoshop and don’t know how to use it. And honestly for quick product photos, the AI does a good enough job.
remove.bg — this was my go-to before. It’s good. But they limit you to low resolution downloads on the free plan. If you want the full resolution image, you pay. And the pricing is per image. For my friend doing 20-30 product photos a month, that adds up fast.
Canva — has a background remover but it’s a Pro feature. You need to pay for Canva Pro to use it. Again, not free.
The ConvertKr tool runs the AI entirely in your browser. The image doesn’t upload anywhere. You get full resolution. And there’s no limit. That’s the difference.
One thing to know
The AI model that does the background removal is about 40MB. First time you open the tool, it downloads this model to your browser cache. This might take 10-20 seconds depending on your internet. After that first time, it’s saved locally and loads instantly.
On a slow connection this initial wait can be annoying. But you only deal with it once. After that it’s fast.
Also — this all runs on your device. Your photos don’t go to any server. The AI runs right in your browser. I know I keep saying this but it matters. If you’re removing backgrounds from personal photos or confidential product images, nobody else sees them.
FAQ
Can I change the background to a specific color?
The tool gives you a transparent PNG. To add a colored background, you can open it in any image editor — even Google Slides works. Insert the PNG, add a colored rectangle behind it, export. Or just put it on your website and set the background color in CSS.
Does it work on photos with multiple people?
It tries to keep all the people and remove the background. Works okay with 2-3 people. With large groups it can miss edges. For group photos I’d say try it and see — sometimes it nails it, sometimes not.
Why is the first load slow?
The AI model downloads on first use (~40MB). After that it’s cached in your browser. Second time onwards it loads in 1-2 seconds.
My result has rough edges. Can I fix it?
Sometimes the edges aren’t perfect, especially around hair or thin objects. For quick fixes, open the PNG in any editor and erase the rough spots manually. For most use cases like product photos or profile pics, the edges are clean enough to use directly.
Want to try it? Open the background remover — drop a photo and see the result in seconds.